Local > Events calendar
Events are built on Shopify blog posts. The date, duration and ticket come from metafields you connect once; a Page lists them and each event has its own page.
Step 1: Metafield definitions
In Shopify admin go to Settings → Metafields and Metaobjects → Metafield definitions → Blog posts and add these definitions:
| FIELD | TYPE | REQUIRED |
| Event date and time | Date and time or Date | Yes |
| Event duration | Text — duration in hours, e.g. 2 or 24 | Optional |
| Ticket product | Product (product reference) | Only for ticket |
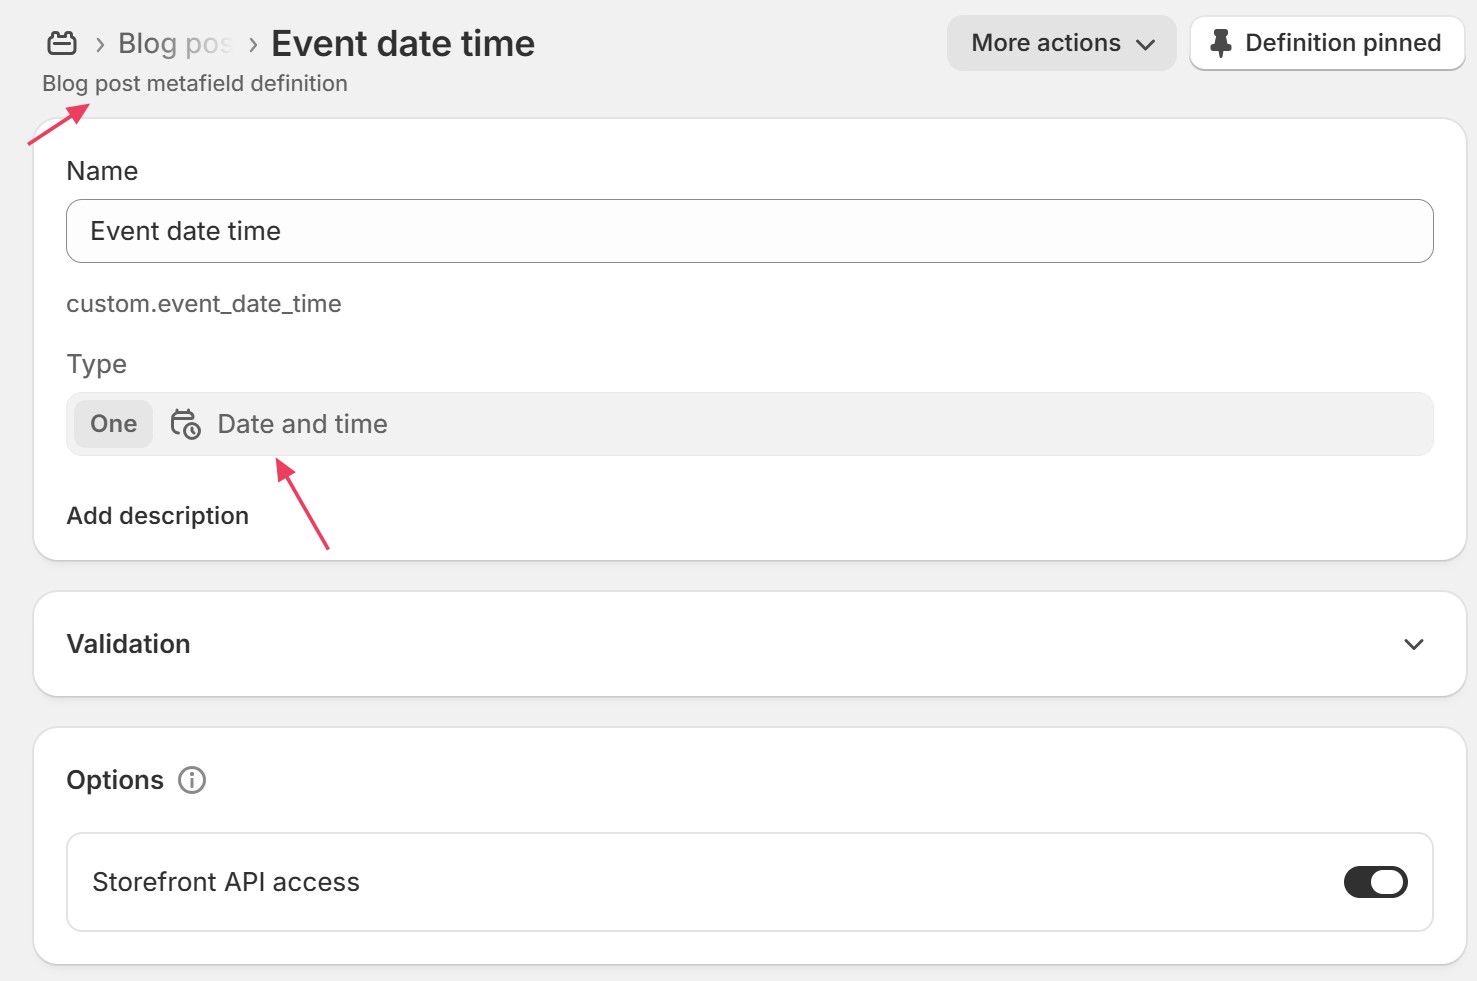
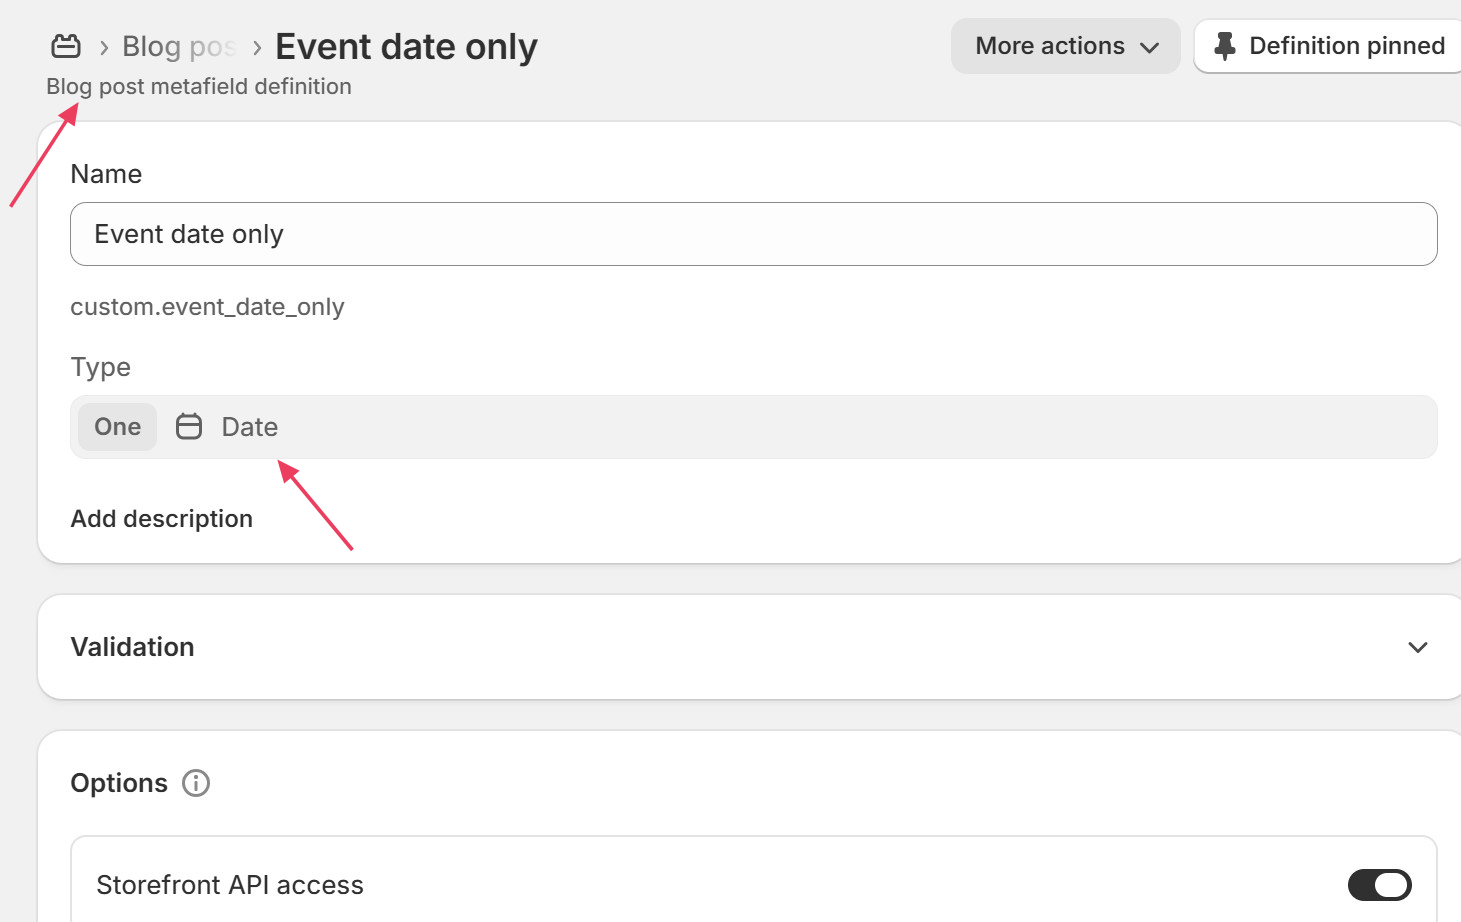
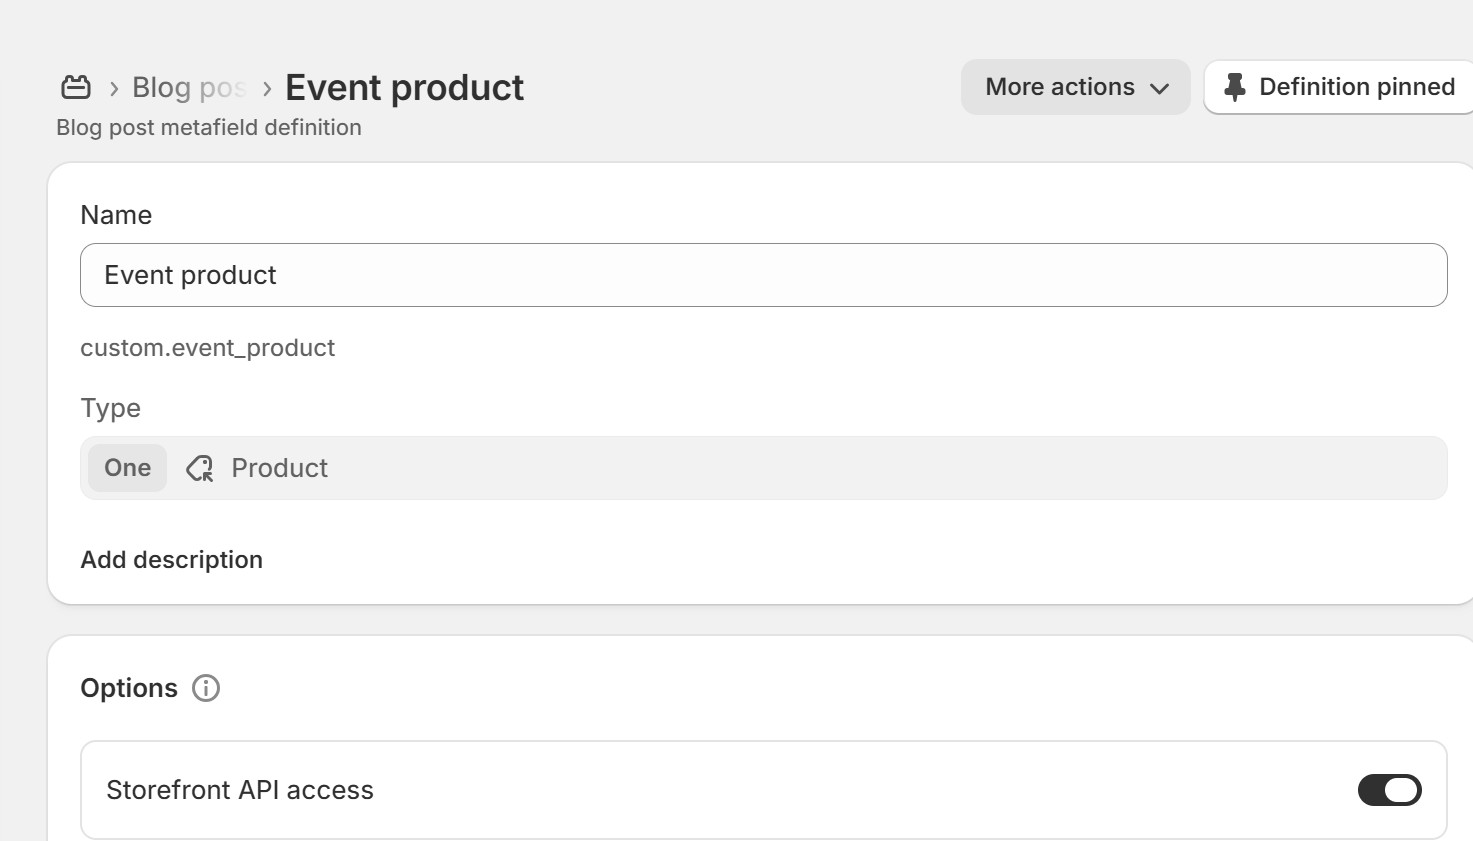
The type you pick for the date metafield decides what shows on the storefront and how the event is added to a calendar.
| DATE METAFIELD TYPE | USE DURATION? | WHAT VISITORS SEE |
| Date and time + Duration | Yes | Events list and single event show the date, time and duration (e.g. 14:00 – 16:00). "Add to calendar" exports a timed event with a start and a calculated end based on Event duration metafield. |
| Date (no time) | No | Event shows only the date and is treated as an all-day event. "Add to calendar" exports it as all-day. |
Date type. If your date metafield is the Date type, the event is an all-day event and only the date is shown (there's no time to display). In this case do not use the Event duration metafield because a duration on an all-day event is ignored on storefront, and the calendar will export multiple days depending on the value of the duration metafield. Use Event duration only together with a Date and time metafield.
Step 2: Creating the events
-
Point the theme at your metafields
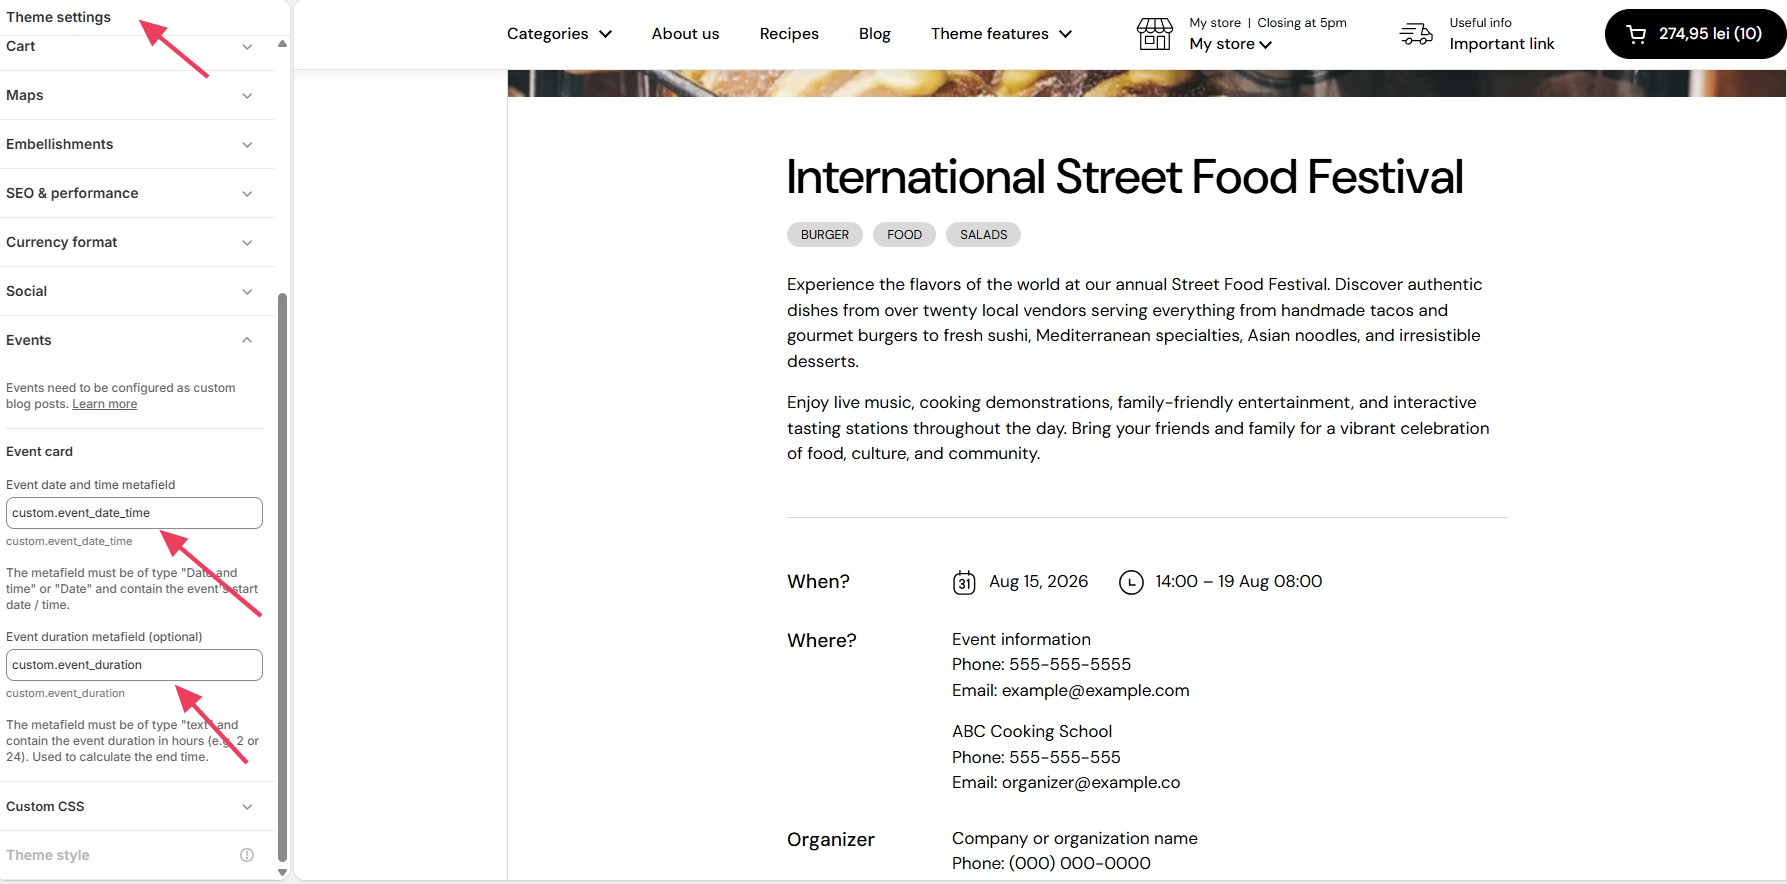
Theme editor → Theme settings → Events. Enter the metafield keys :
Event date and time -> custom.event_date_time
Event duration -> custom.event_duration
Every event section/block reads from here.
-
Create the Events blog
Blog posts → Manage blogs → e.g. "Events". Each event is a post in this blog.
-
Create event blog posts
Create the post inside the Events blog. Set the Theme template to
article.event, then fill in the event metafields with the relevant values.
Step 3: The single event page
The article.event template is built from blocks:
| BLOCK | SHOWS |
| Content | Event image, title, tags, excerpt |
| Information → Event time | Date and time range, from the metafields |
| Information → Text | Free rich-text rows (e.g. "Where?", "Organizer") |
| Information → Sharing options | Facebook / X / Pinterest / Custom link |
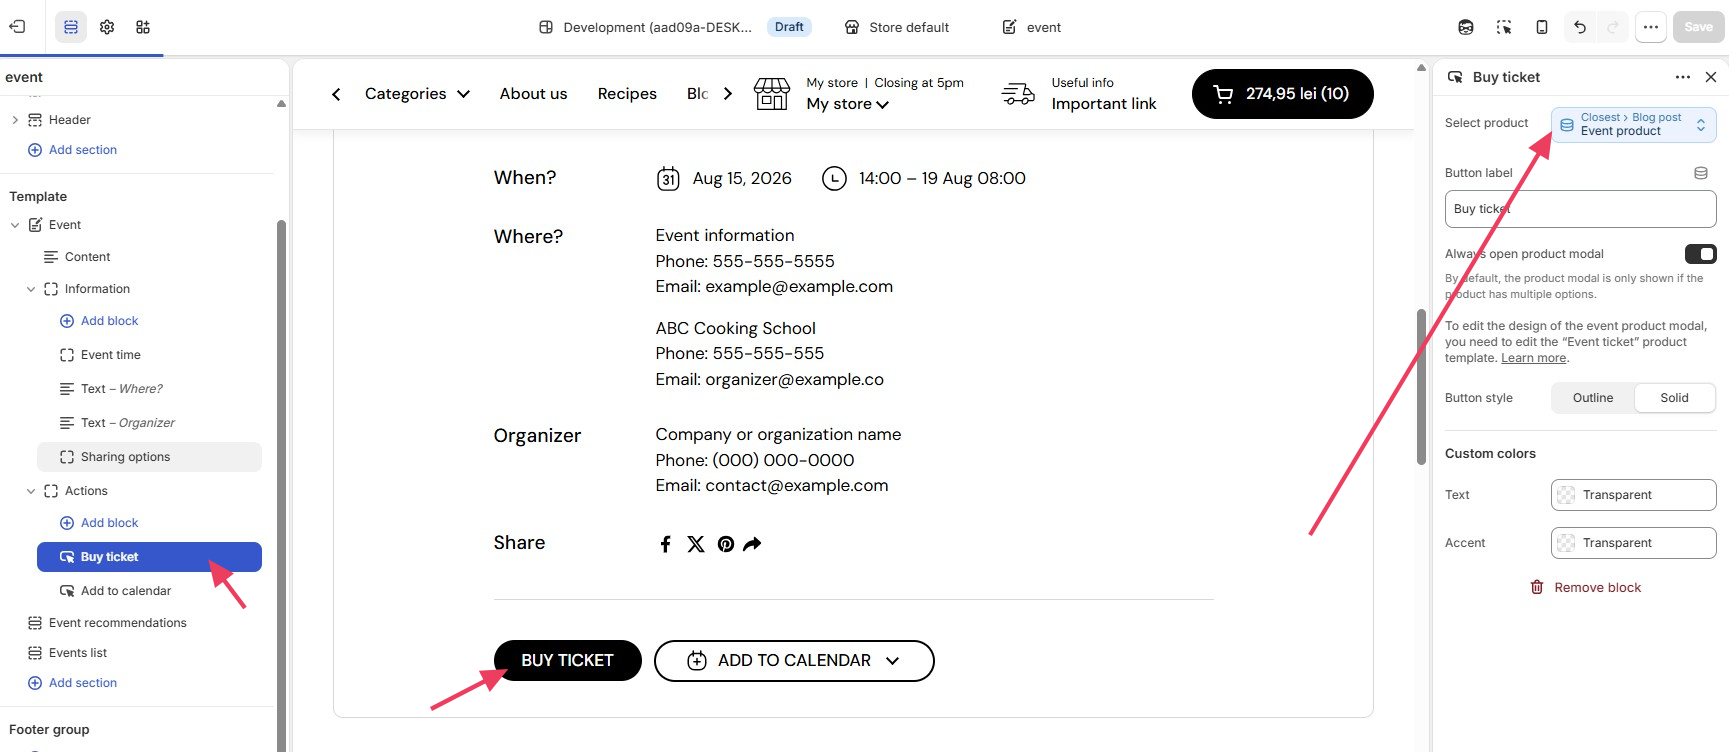
| Actions → Buy ticket | Adds a ticket to cart, or opens the ticket modal |
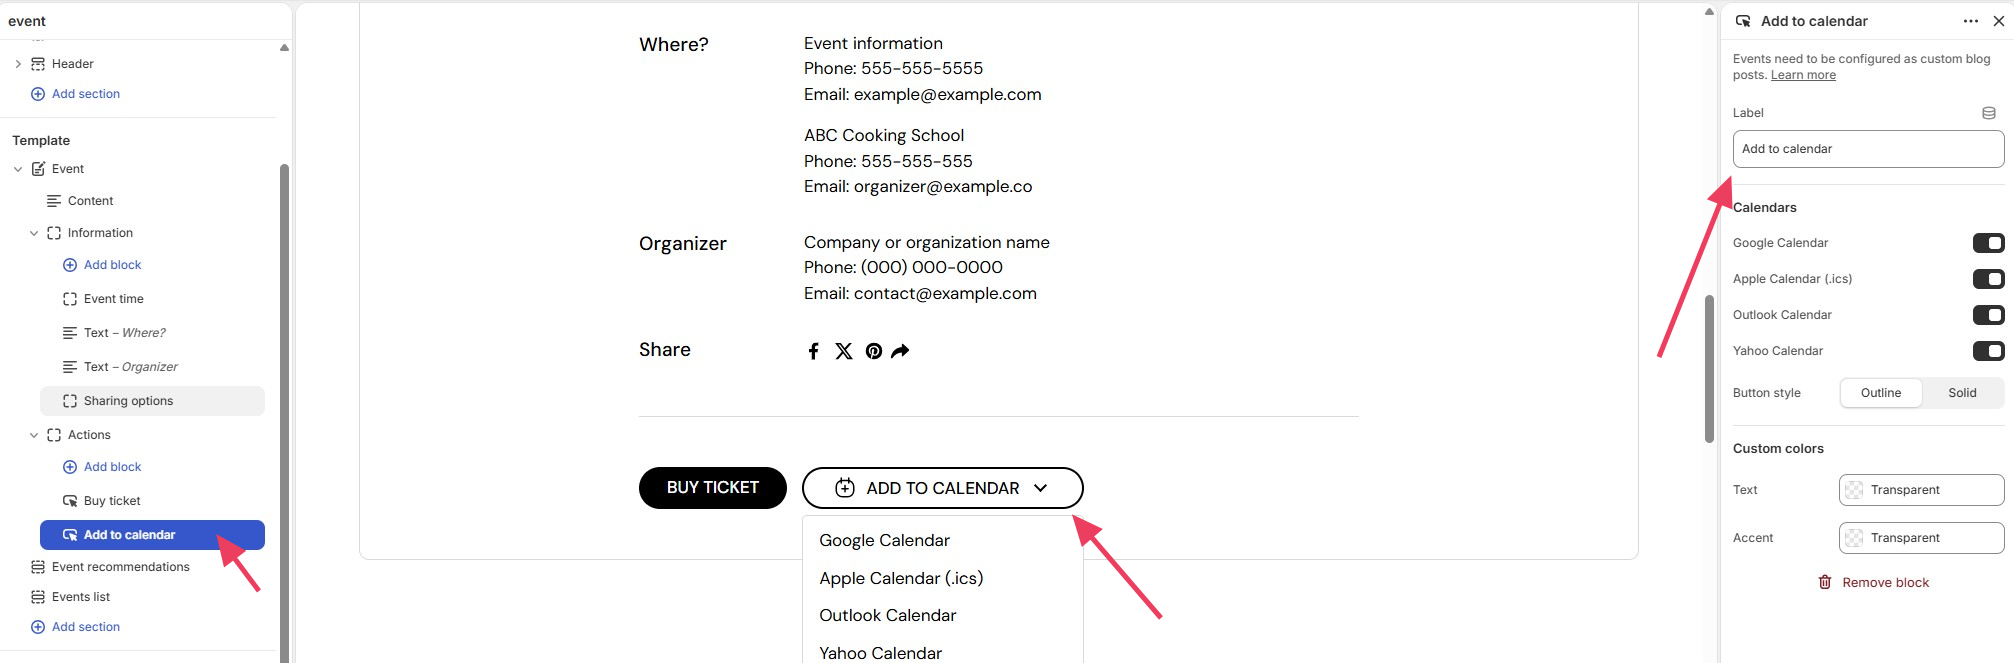
| Actions → Add to calendar | Google, Apple (.ics), Outlook, Yahoo |
The Add to calendar block lets visitors add an event to their preferred calendar:
- Google Calendar, Outlook and Yahoo — clicking the button opens the selected calendar with the event details, including the date, time and duration (when available). Visitors can then save the event to their calendar.
- Apple Calendar (.ics) — clicking the button downloads an
.icsfile containing the event details. The file can then be imported into Apple Calendar or another calendar application that supports the.icsformat.
For all-day events using a Date metafield, the calendar event is exported as an all-day event without a time.
Buy ticket
Give the ticket product the product.event-ticket template, then in the Buy ticket block connect the Select product setting to your article's Ticket product metafield (Insert dynamic source). Turn on Always open product modal if buyers should always pick a variant first.
Step 4: Events list sections
| SECTION | WHERE | NOTES |
| Events list | Your events page (or any page) | Pick the blog. Sorted by event date, soonest first. Hide past events shows only upcoming ones. |
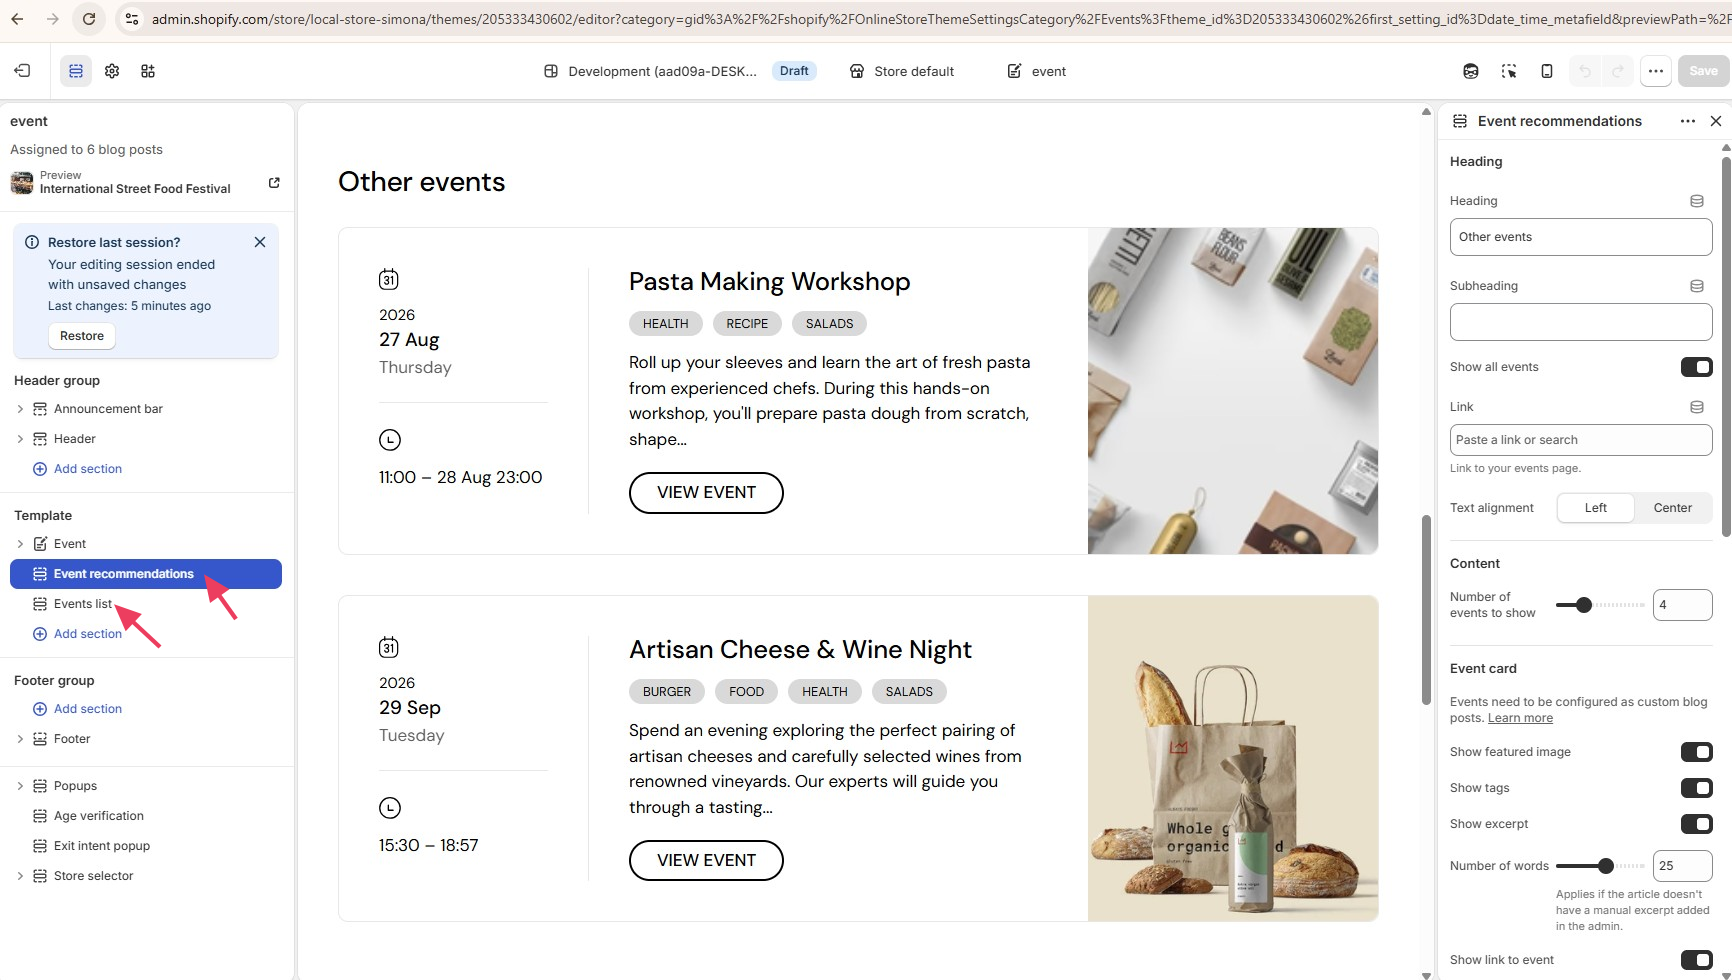
| Event recommendations | On a single event | Sorted by event date, soonest first, excludes the current event, shows upcoming events only. Turn on Show all events option and point its link at your events page. |